First impressions matter, and your hallway is the first thing guests see when they step into your home. It’s a space that sets the tone for the rest of your house. Painting your hallway can transform its look, making it a warm, inviting area that feels just right. But where do you start? With the right preparation and thoughtful choices, you can make your hallway a standout feature of your home.
Let’s discover how to transform your hallway, from picking the ideal hues to adding the final touches. Whether you’re a first-time DIY painter or an occasional artist, this blog will walk you through everything you need to know.
Step 1: Preparing Your Hallway for Painting
The secret to a flawless and polished paint job is preparation. Before you pick up a brush, you’ll need to get the hallway ready. Start by clearing the area of any furniture, rugs, or wall decorations. This will give you an unobstructed workspace and ensure nothing gets accidentally splattered with paint. Don’t forget to remove light switch covers and any wall fixtures for a cleaner look.
Next, inspect the walls for any cracks, dents, or peeling paint. Using a putty knife, scrape off any peeling paint, then use spackling paste to fill in any spaces. Once the paste is dry, sand the surface until it’s smooth. It’s also crucial to clean the walls with a moist cloth or a light detergent since oil and grime can make it difficult for the paint to adhere.
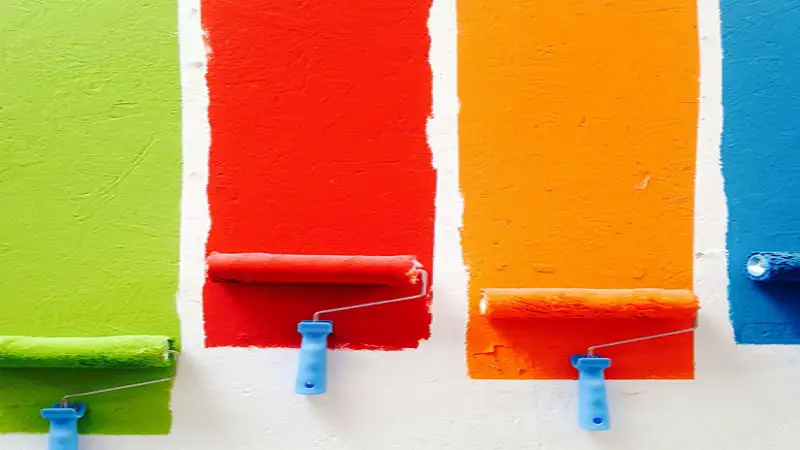
Step 2: Selecting the Proper Paint and Equipment
The type of paint and tools you choose can make all the difference in the outcome of your project. For hallways, durability is a top priority. Look for high-quality, washable paint that can handle scuffs and scratches. Semi-gloss or satin finishes are excellent options because they are easy to clean and reflect just enough light to brighten the space.
When it comes to tools, you’ll need a good-quality brush for cutting in around edges and a roller for larger areas. A roller with a medium nap works best for most hallway walls, as it applies paint evenly without leaving streaks. Don’t forget the painter’s tape to create clean lines around the trim and baseboards.
Step 3: Picking the Perfect Color
Color choice is one of the most exciting parts of painting your hallway. It’s your chance to set the mood and reflect your personal style. For a welcoming feel, consider lighter shades such as soft greys, warm whites, or pastel tones. These colors make the space appear larger and more open, which is especially helpful in narrow hallways.
If you’re feeling daring, go for an accent wall or a burst of color. A deep blue, sage green, or even a muted terracotta can add character and depth. Remember to think about how the hallway color will flow with the rest of your home. Test paint swatches on your wall and see how they look in different lighting conditions throughout the day.
Step 4: Protecting Surfaces and Taping Edges
Before you start painting, it’s essential to protect your floors, trim, and other surfaces. Cover the ground and any furniture with drop cloths or plastic sheeting. Secure the edges with tape and pay close attention to baseboards, doorframes, and ceilings.
This step might seem tedious, but it makes a big difference in achieving a polished result. Taping edges properly ensures that your paint job looks professional and keeps your cleanup time to a minimum. Plus, it helps prevent accidental smudges or spills that could ruin your hard work.
Step 5: Priming the Walls
Priming the walls is a step that many people overlook, but it’s essential for achieving a flawless finish. Primer improves paint adhesion to the surface and promotes uniform color. If your walls are already painted a dark or bold color, primer is especially important to prevent the old shade from showing through.
Using a roller, apply a layer of primer in portions from top to bottom. Use a brush to reach tight corners and edges. Allow the primer to dry thoroughly before proceeding to the next step. While it might add extra time to your project, priming lays the foundation for a long-lasting and vibrant paint job.
Step 6: Applying the Paint
Now comes the fun part: painting! Start painting by using a brush to cut around the edges and corners. This results in a tidy border and makes it easy to fill in big areas with a roller. Work in small sections, applying paint in even strokes and blending each section as you go.
When using a roller, apply the paint in a “W” or “M” pattern to ensure even coverage. Avoid overloading the roller with paint, as this can cause drips and streaks. Depending on the color and type of paint you’ve chosen, you may need to apply two coats. To get the best results, let the first coat dry fully before applying the second.
Step 7: Letting the Paint Dry and Cleaning Up
After you’ve applied the final coat, it’s crucial to let the paint dry completely. Keep windows open or use fans to help ventilate the area and speed up the drying process. Avoid touching the walls or reattaching fixtures until the paint has fully set, which typically takes about 24 hours.
After the paint has dried completely, gently remove the painter’s tape at a 45-degree angle to avoid removing any paint. If you use latex paint, clean your rollers and brush with warm soapy water. If you use oil-based paint, use the appropriate cleanser. Proper cleanup will keep your tools in good condition for future projects.
While painting a hallway is a manageable DIY project for many, there are times when calling professional indoor painters might be a better option. If your hallway has intricate details, high ceilings, or extensive repairs, professionals can save you time and ensure a flawless finish.
Final Thoughts
Giving your hallway a fresh coat of paint is a simple yet effective way to create a welcoming atmosphere. By preparing your space, choosing the right colors and tools, and following a step-by-step process, you can achieve a professional-looking result that impresses everyone who walks through your door.